|
Six Phases of A Perfect 400m Race

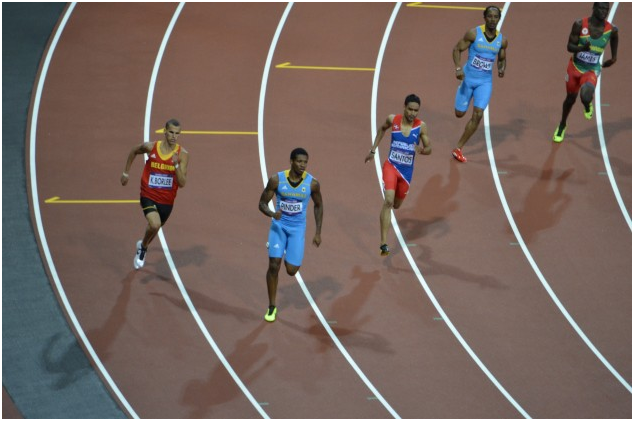
A race strategy is critical to effective training, and it should shape your overall preparation. Design your training program to provide a basis of consistency from which you can make real improvements. Below are six phases of the 400m race and a strategy for getting each one right. The phases have been selected because track markings or visual cues are easy to work with; but as you become more experienced, you will be able to vary this either way. (First, make sure you're ready to go with How to Warm-Up on Pre-Race Day.) Start to 50m The start and the drive phase should be executed the same for any sprint: "go ugly early," to coin a phrase. The reason to drive hard and not hold back at the start is because you are using your alactic energy system; and since it burns out pretty quickly (in roughly seven or eight seconds), you might as well take maximum advantage of it. Holding back will not stop it from burning out. Also, acceleration is technically difficult, especially in sprinting, and if you try to pull back to 95% of your maximum speed, for example, who can judge that? Save your adjustments for the next phase. Transition The next 50m constitute the transition phase. You are coming off the bend and getting into your stride, and this is where you set the pace and cadence for the next stage. (Read about Tyson Gay's 100-Meter Sprint Strategy.) Float You can't run a 400m flat out all the way around. Those who try will blow up at around 250m and start going backwards. Getting the float phase absolutely right is the most important strategy in the race, because it covers the 100m to 200m sections. If you go too slowly, you'll lose too much time, but if you go too fast, you'll flame out. It's like Goldilocks' porridge—not too hot, not too cold, just right. Latif Thomas calls it running "at the edge of insanity." You need to be fast, but relaxed. Acceleration This is not real acceleration, nor is it even re-acceleration, but it will feel like it. (Read Five Methods to Maximize Acceleration.) Here, you should start to wind up the speed over the course of the bend. Actually, what happens is that you slow the rate of deceleration; but it will feel like you are accelerating, because you will be pushing instead of floating. The trick is to increase speed gradually through the course of the bend. Don't try to kick at the 200m point, as this will waste considerable energy. Kick This phase varies depending on the athlete and the race situation. But in general terms, I like my athletes to accelerate off the bend and start their kick at the 100m marker. (See How Texas T&F Improves Their Kick.) This is because if they accelerate at this point, they'll be pushing as they straighten up off the bend. It feels like this gives you an extra shot of speed, and you get the jump on competitors who straighten up first before kicking. This can be a particularly good time to use the Valsalva technique. The Final Phase This is where things can start to get messy, especially if you didn't get the other phases right. However, no matter what went down previously, the final phase is hell on earth. Sprinting when your body is racked with lactic pain and screaming at you to stop is difficult to say the least. Each athlete has to find his or her own way through it, but believe it or not, the best way is to run faster. It's obviously counterintuitive, but continuing the kick changes the reaction of the body for a short time after the first 300m. It also provides a psychological edge, bringing the finish line toward you faster, so the race will be over sooner. But be assured, these mental tricks have no more than marginal effects. It will hurt. There is no way around it. |
|
|


